How to Prep Your Face for a Self-Tan
Posted by Ellie Swain on Sep 25th 2021
As the air gets chillier, you may not be as eager to keep up with your spray tan appointments. But don’t worry, you can still maintain a beautiful glowing complexion using a self-tanner on your face.
When it comes to self-tanning the face, we can all admit that it feels a bit strange or even intimidating to slather a bronzing agent over your cheeks and nose. The best practices for tanning your face are a bit different than those for your body, and we’re here to share them with you so you can achieve that perfect face tan.
Choose the Right Self-Tanner for Your Skin Type
Before tanning your face, consider your skin type. Is it oily, dry, or normal? Do you experience breakouts?
Some self-tanners are non-comedogenic, which can help prevent the blockage of pores if you’re prone to zits. Choosing a self-tanner that’s specifically designed for your face will usually be better suited for facial application than a product formulated for the body.
Likewise, self-tanners can come in different shades or can be transparent, like self-tanning mousse. Pigmented facial tanning products are usually lighter than body tanning products, so consider the color of self-tanner to suit your skin.
While not recommended, if you do pick a body self-tanner for your face, you can try diluting it with a non-oil-based moisturizer to lighten it.
Prep your Complexion
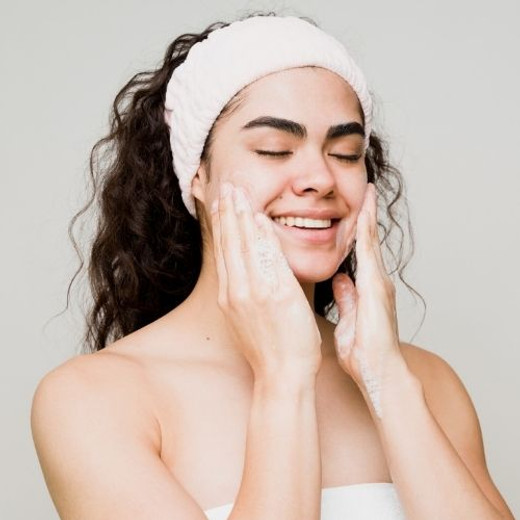
When tanning your face, always begin by cleansing your skin and removing any makeup or excess product residue before application. We recommend using an exfoliating cleanser or scrub to clean the skin well – either physical or chemical works. Just avoid using a cleanser that contains oil, which can prevent the self-tan from absorbing properly.
An excellent option is the Bioelements flash foam cleanser with natural enzymes. The exfoliating formula contains natural pumpkin, papaya, and pineapple enzymes to gently clean makeup, dirt, and impurities. Skin is left soft, smooth, and refreshed.
After cleansing, but before the self-tan application, be sure to lightly moisturize around your nostrils and other dry areas with an oil-free lotion. This helps to prevent those pesky streaks that always seem to appear.
We love Dermalogica’sSkin Hydrating Booster that contains hyaluronic acid, panthenol, glycolipids, and algae extract to help restore moisture balance and reduce the appearance of fine lines. The fluid concentrate delivers extra hydration and can be used with your usual moisturizer to lift moisture levels. It can also be used directly on dry areas.
Apply the Self Tan
Now it’s time to achieve that gorgeous glow. Be sure to follow the instructions on the packaging to set your tan, whether it’s a mist, drops, or another type of formula. If you’re using a mist, hold the bottle about four inches away from the face and spritz down the center and sides of your face.
If you’re using a cream solution, apply it the same way you would with a moisturizer, using your hands to rub an even layer into your skin. Whatever type of formula you’re using, ensure that your coverage includes the whole face, including those areas it’s easy to forget about, such as the front and back of the neck, ears, and hairline. You don’t want your pale ears to be a fake tan giveaway, after all.
Now it’s time to show off your self-tanning skills if you fancy perfecting the look. Contouring is an optional step that you apply the same way you would with a blush or bronzer. While it’s not completely necessary, contouring your tan helps you create a ‘full-face’ vibe, adding more dimension to your complexion.
If you contour well, it can save you valuable time sitting in front of the mirror applying your makeup.
Be aware that contouring only works with a pigmented self-tanner. If you tried using a transparent formula, it would be impossible to tell if the tan comes up as blended or patchy.
To contour your tan, use a makeup brush or your fingers to apply extra color across your cheekbones, under the jawlines, and on the arches of your brow bones. When you wake up from your slumber the following morning, you’ll notice a subtle contour on your complexion.
While this last step isn’t necessary, consider applying a translucent powder on top of your tan before you crawl into bed for even better results. This helps avoid your carefully applied tan from smudging as you snooze.
Repeat
Unfortunately, your facial self-tan is unlikely to last you all week. As cell turnover occurs so quickly on the face, your facial tan will fade more rapidly than self-tan on the body.
When you’re ready for some extra glow, exfoliate your face, moisturize, and repeat the cycle.
To help your facial self-tan last as long as possible, be sure to avoid any moisturizers or products containing oil. You should also avoid formulas with retinoids or exfoliants when you’re wearing self-tan on your face as they may dry out your skin.
Do you want more skincare advice? Here’s how to treat hungover skin .

